
Are you looking to give your nails a stylish makeover without stepping out of your home? With just a few tools and a bit of creativity, you can achieve stunning nail art right in your own living room. Whether you’re a beginner or a seasoned nail enthusiast, this guide will help you create a beautiful design that’s sure to impress!
Materials Needed:
- Base coat
- Nail polish (choose two or more colors that complement each other)
- Top coat
- Nail art brushes or toothpicks
- Dotting tool or a bobby pin
- Nail polish remover and cotton swabs for clean-up
Step-by-Step Guide:
Step 1: Prepare Your Nails
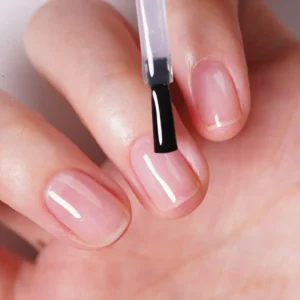
Start by removing any old nail polish and filing your nails into your desired shape. Gently push back your cuticles using a cuticle pusher. Wash your hands to remove any dust or oils. Apply a base coat to protect your nails and help the polish adhere better.
Step 2: Choose Your Base Color
Select a nail polish color for your base. Apply one or two coats, depending on the opacity of the polish. Make sure to let each coat dry completely before applying the next. This will give your nail art a smooth, professional look.
Step 3: Create Your Design
Once the base color is dry, it’s time to get creative! Here are a few simple designs to try:
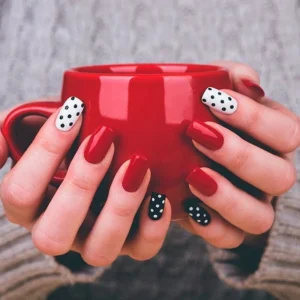
- Polka Dots: Using a dotting tool or the rounded end of a bobby pin, dip it into a contrasting nail polish color and gently press it onto your nail to create dots. You can make a random pattern or create uniform rows for a classic polka dot look.
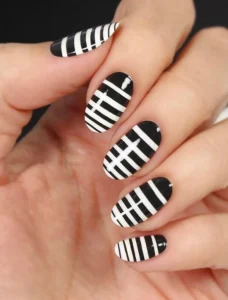
- Striped Accent: Use a thin nail art brush or a striping brush to paint stripes on one or more nails. You can go for vertical, horizontal, or diagonal stripes in different colors for a fun, dynamic look.
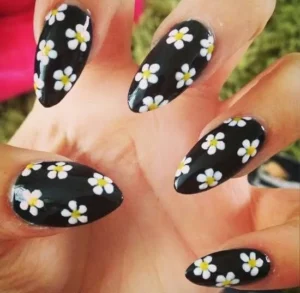
- Floral Design: For a simple floral pattern, use the dotting tool to create five small dots in a circular pattern. Then, use a toothpick to drag each dot toward the center to form petals. Add a contrasting dot in the center for the flower’s core.
Step 4: Finish with a Top Coat
Once you’re happy with your design, let your nails dry completely. Finish off with a top coat to seal in your artwork and add a beautiful shine. A good top coat also helps prevent chipping, ensuring your nail art lasts longer.
Step 5: Clean Up
Dip a cotton swab or a small brush in nail polish remover to clean up any polish that may have gotten on your skin or cuticles. This step will make your nail art look neat and polished.
Final Thoughts
With these simple steps, you can create salon-worthy nail art at home. The key is to be patient, allow each layer to dry, and not be afraid to experiment with different colors and designs. The more you practice, the more confident you’ll become in your nail art skills. So grab your nail polish, get creative, and show off your fabulous nails!